Testtraxx
~
Adjustments
  Testtraxx ~ Adjustments |
| Home | The Shay Fixer | Testtraxx | The Nickel Plater | What's New | For Sale | Contact | Links |
Sometimes, over time, all things need a little adjustment...
Here's how to make those adjustments to your new Testtraxx or when you purchase new carriages at a later date...
| Faq's |
| Testtraxx Operations |
| Products List |
| How to use your new Testtraxx for wheel cleaning |
The Base
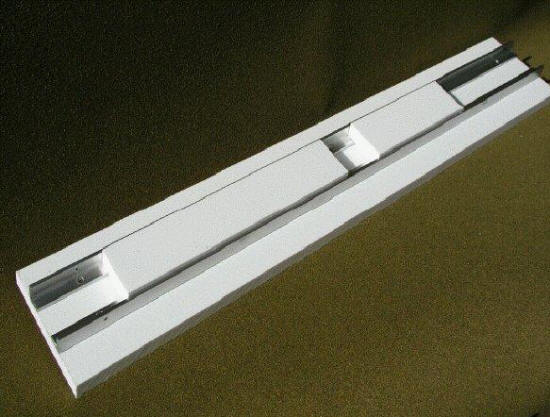
Your new Testtraxx starts out with a "Marine Starboard" base, a pair of "Marine Grade/T-65" aluminum rails and two "Marine Starboard" sliders which slide upon the rails. Your engines tender, lead and rear trucks sit on these sliders during operation unless, of course, it is a diesel.... There shouldn't ever be a need to readjust your base.
***
This one size base is what makes Testtraxx so unique, for it fits all carriages from O to Nn3. This allows you, the modeler, to run most all your engines on the same base. At a later time, purchase the carriages you need in whatever scale and gauge you choose and be assured that they will fit your base. You might need to do the simple adjustments you see here on this page if the carriages are purchased at different times.
***
On the other hand, you may want to readjust the carriages to more readily fit your situation. The carriages are pre-adjusted to the base rails width which is standardized with all Testtraxxs. The distance between bearings across the carriage is measured with an NMRA standards track gauge for the model you ordered. Since the NMRA standards describe a range of values, (+) or (-) of the midpoint value, the value which I use, the adjustments you see here on this page will not affect the final ability of the carriage to handle the scale/gauge it was originally built for. This does, and was intended to, allow for fine adjustments to operation though.
Because the carriages mechanically slide on and between the base rails, less contact with the rails allows the carriage to slide easier...of course, this creates a looser carriage and more "wiggle" in the carriage when operating. I have pre-adjusted your carriages to the base for what I have personally found to work best for me and my "The Shay Fixer" business.
***
The following shows just how easy it is to adjust your new Testtraxx carriages if necessary:
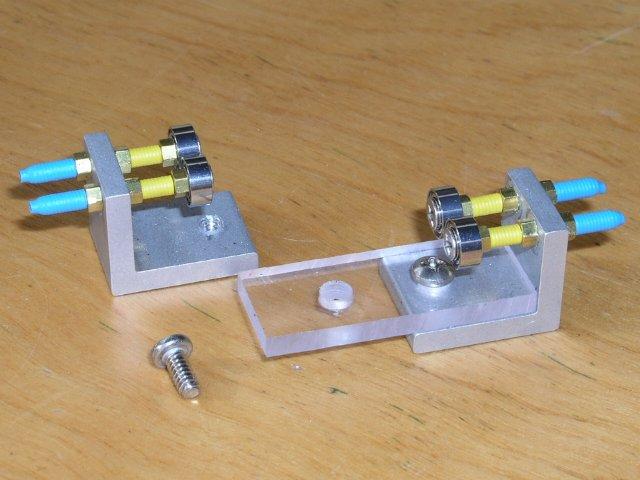
The multi-colored bearing spindles should never need adjustment...
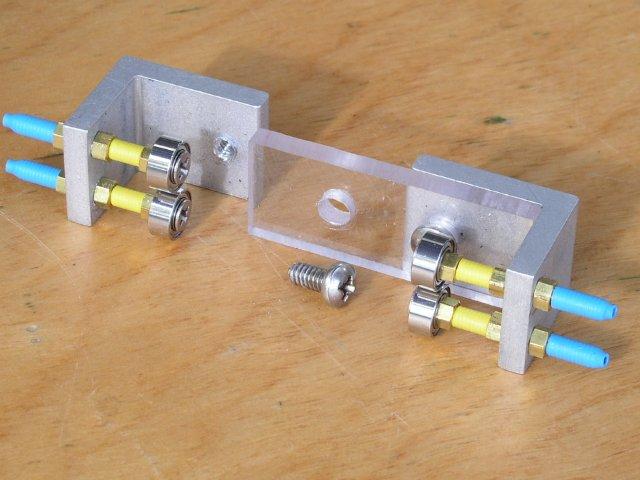
Carriage is apart and laying on it's side...
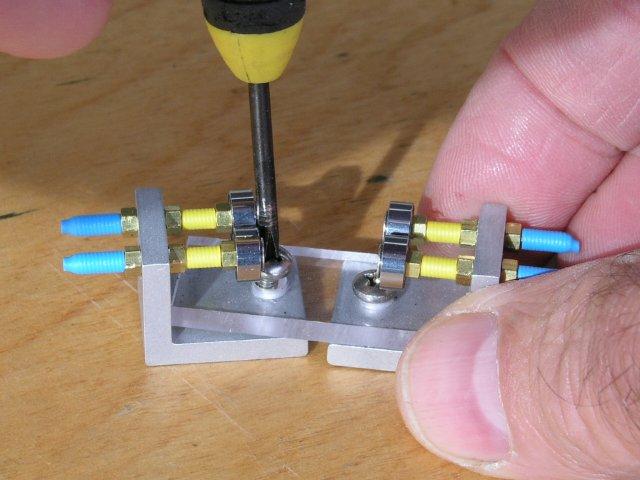
Putting the screw back through the Lexan spacer into it's hole...
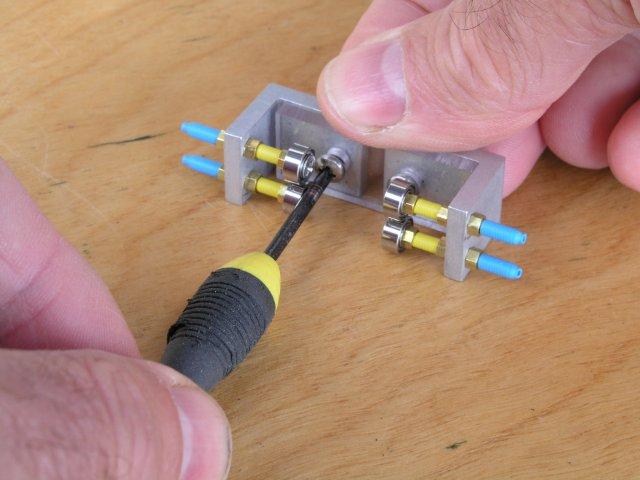
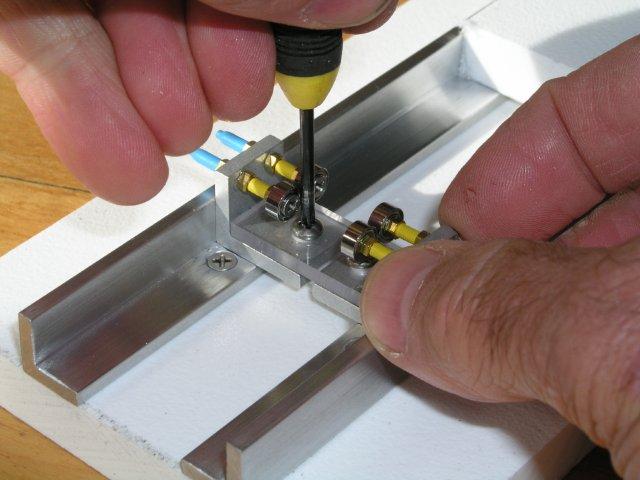
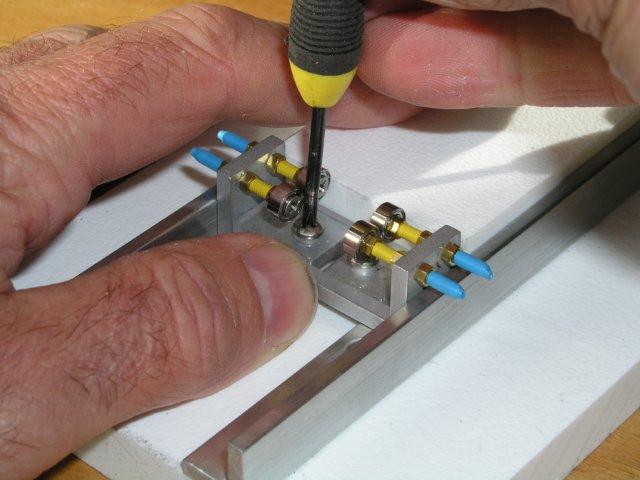
Adjusting width of carriage to base...the two metal bearing components of the carriage are, at the same time, each moved toward their respective metal rails on each side...tightening, loosening etc. a couple of times till the adjustment you are looking for is found...
***
Running a clean cloth along the base rails periodically helps to keep them clean and optimizes electrical conductivity.
***
Please note, unless you do not want any movement of the carriages, they should be able to slide between the rails.
***