Testtraxx
~
Operations
  Testtraxx ~ Operations |
| Home | The Shay Fixer | Testtraxx | The Nickel Plater | What's New | For Sale | Contact | Links |
How to 'Operate' your new Testtraxx...
| Faq's |
| Products List |
| How to adjust your Testtraxx |
| How to use your new Testtraxx for wheel cleaning |
Design
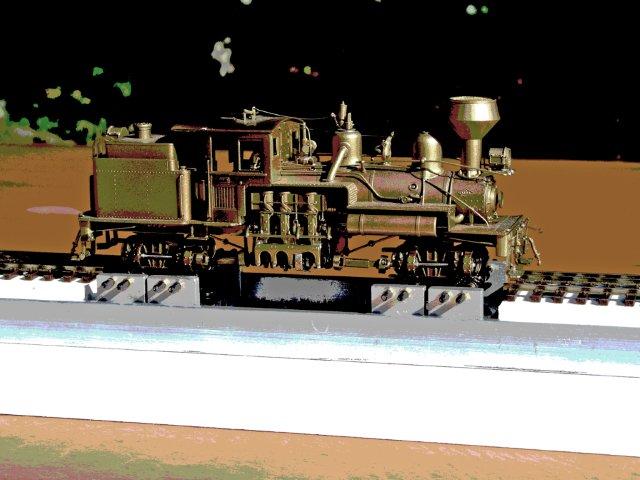
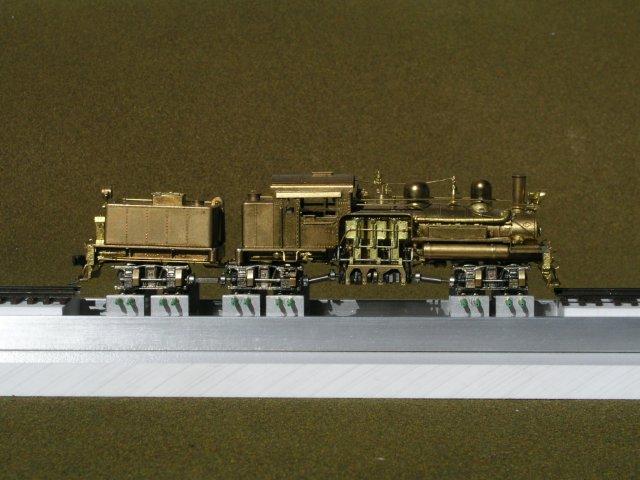
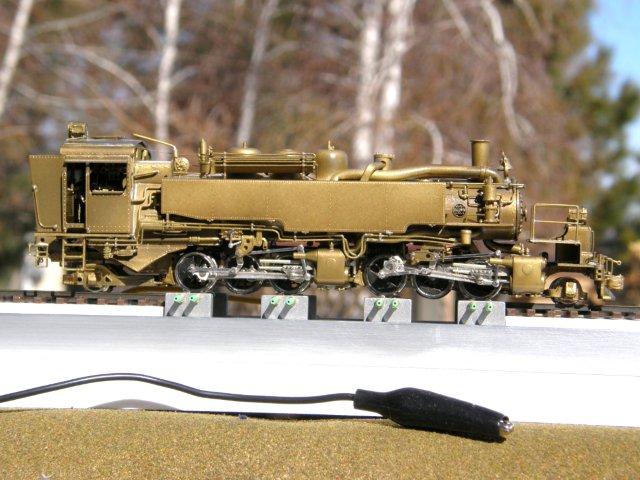
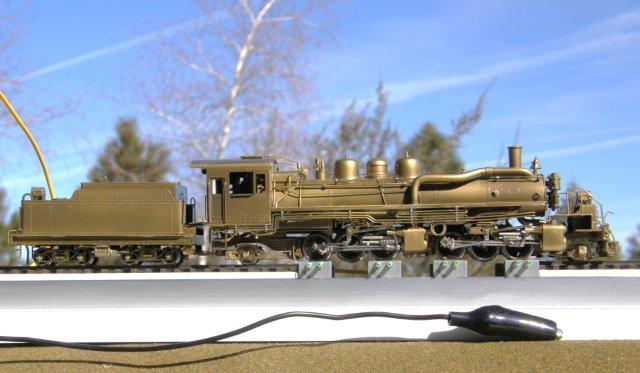
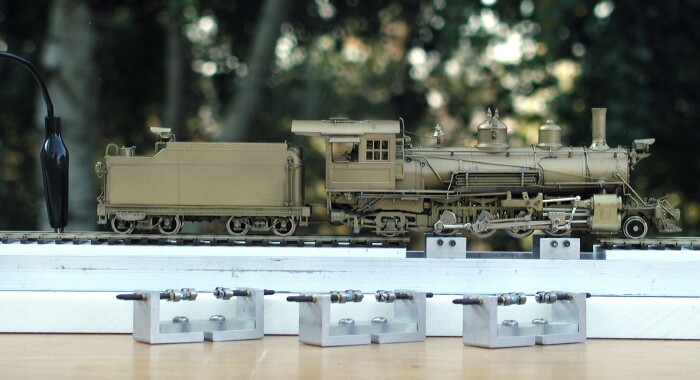
Testtraxx is composed of 2 aluminum angles mounted parallel on a marine board base. The assemblies that hold the ball bearings are called 'carriages'. The carriages slide between the angles to adjust for the various locomotive wheel arrangements. Two track sections also slide between the angles. The short sliding section supports the engine lead truck. The longer sliding section supports the locomotives trailing truck and tender. When testing a diesel or tenderless tank engine, the track sections are not used. Attached to the 'tender end' of each Testtraxx are the power feeds. Your power supply is connected to the two largest alligator clips/wires. The right power feed powers the right aluminum angle which transfers the power through the cars to the right drivers. The left drivers are insulated. The left power feed consists of 2 connected wires. For a tender equipped engine, the shorter, smaller alligator clip/wire is clipped to the left rail of the sliding tender track section. If a diesel or tank engine is being tested, the power pickup will be thru the aluminum rail, to the carriages, and into the left driver wheels. Testtraxx can be used with any DC or DCC power source.
Test Procedure
A typical test consists of placing an engine on the Testtraxx. The drivers are positioned first. The carriages are adjusted to support the drivers. Next, the track sections are slid into position as necessary, to support the lead truck and tender. After the engine is carefully positioned, the power leads are connected to your power supply. Slowly turn on the power to your locomotive. The drawing below shows some of the possible carriage placement positions for typical engines...
***
~ Some Locomotive Driver Carriage Combinations ~
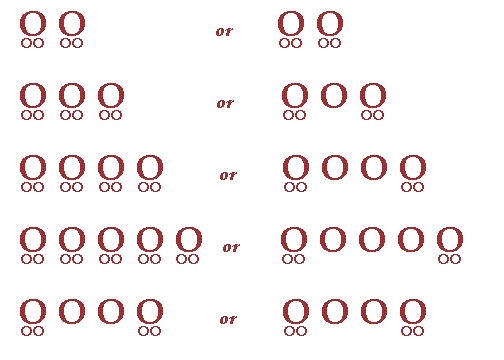
2 Drive Axles
3 Drive Axles
4 Drive Axles
5 Drive Axles
Articulateds
***
***
***
***